

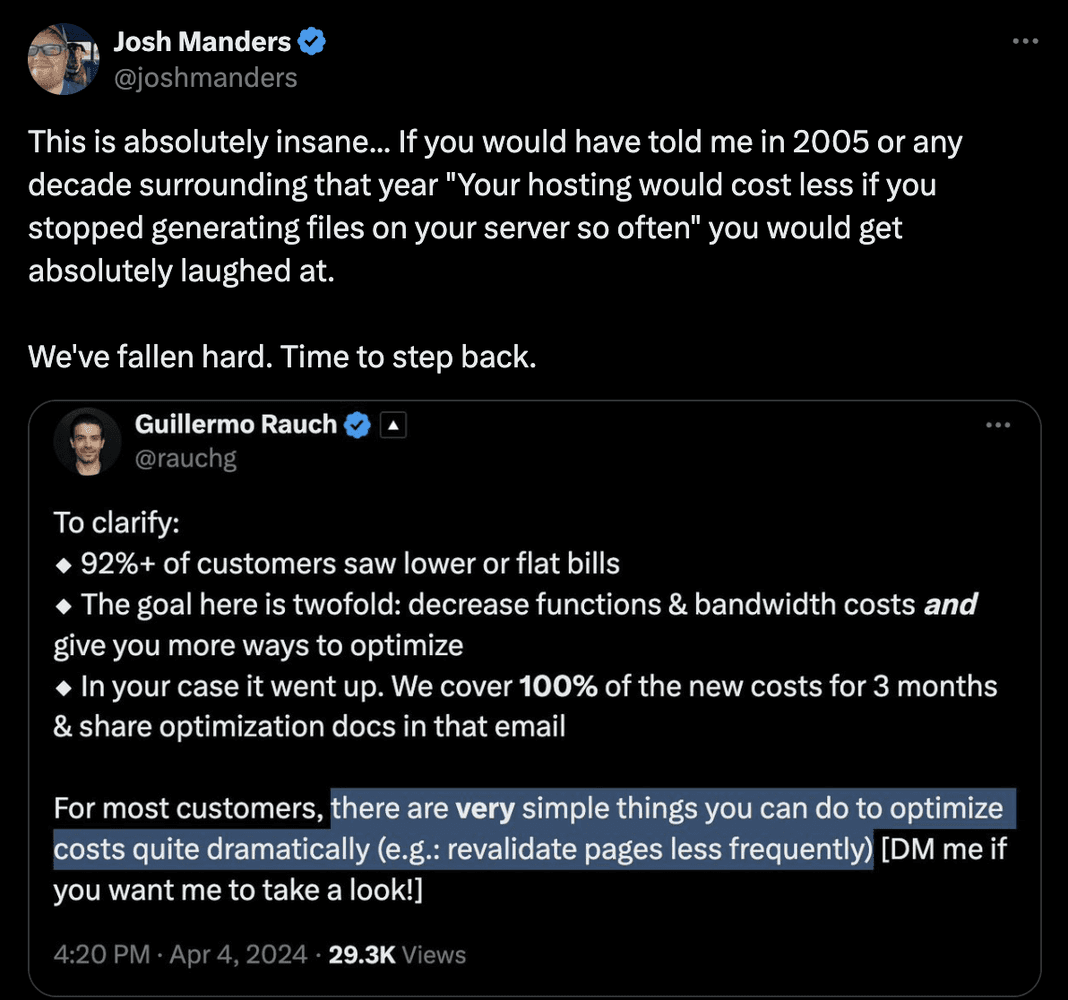
Over the past few weeks there has been a bit of outpour of negative tweets about Vercel's pricing model change & how hard it is to self-host Next.js (compared to simply hosting it on Vercel):
Without surprise Next.js is a bit of a hassle in this regard, especially when you want to scale to multiple instances, or if you want to have finer grained control over what's happening behind the scenes. Things like OpenNext wouldn't exist if things were as easy as pushing a button to Vercel.
However, for us at Bravoure, self hosting has never really been an issue.
The ability to self host gives us finer grained control over things like (i) image optimization, (ii) deployments and more importantly (iii) cache handling.
In this post we'll go through the ways we handle caching using Redis, and more importantly the ability to implement on-demand Stale While Revalidate; a caching pattern which is not supported by default in Next.js.
What cache?
Next's caching layers can be quite intimidating to entirely grasp. In this article we'll look at specifically two types of caches:
Full route cache (HTML + RSC data: this is the output of statically generated pages)
Data cache (responses from fetch() requests)
By default when you run a Next.js instance (production build) things are either stored in disk or in memory. However there's already a few limitations with Next's default cache handler:
Even if we opt for storing things on disk (within the .next/ folder) using cacheMaxMemorySize: 0, things would still disappear across deployments because our hosting storage is volatile and isn't persisted.
On-demand revalidation purges items from cache 🚨 As it reads in their docs: "When an on-demand revalidation is triggered, the appropriate cache entries will be purged from the cache." This is actually our main motivation behind implementing a custom solution since we wanted things to revalidate in the background instead of purging the items, so users always experience fast cache hits, instead of slow misses.
To solve this we opted to overwrite the default behavior by implementing our custom Cache Handler.
Redis cache handler
Next.js provides a link to this @neshca/cache-handler package that we can use to implement custom caching with Redis.
This was good at first but didn't really allow us to get the finer grained level of control we wanted, so we opted on creating one ourselves. The initial example is super simple and it gave us a nice point to start from.
Implementing set()
Next.js calls the handler set(...) method with a few arguments that are not very well documented; but with a bit of code digging (after all this is the power of open-source) we were able to figure out that we needed not only to store the data itself but also the tags associated with the data:
async set(key, data, ctx) { const tags = ctx?.tags || data?.headers?.['x-next-cache-tags']?.split(','); const setTagsOperation = tags.length ? client.hSet(KEY_PREFIX + SHARED_TAGS_KEY, { [key]: JSON.stringify(tags), }) : undefined; const setOperation = client.set( KEY_PREFIX + key, JSON.stringify({ value: data, lastModified: Date.now(), }) ); await Promise.all([setOperation, setTagsOperation]); }
The tags variable is an array of tags associated with the item being stored. The data (second argument) can be of type PAGE or FETCH - in sync with what we discussed earlier regarding Full Route or Data cache.
We store the data as simple JSON strings (our implementation is a bit more performant as we avoid parsing/stringifying the object by storing the string directly but that's beyond the scope of this article).
This means that after running our app and loading a few pages/fetches, we'll start seeing this kind of data in Redis:
A snippet of a Full Route cache item
Implementing get()
The get() method is a bit easier since it's only called by Next with the given key of the resource. It's not clear how keys are encoded but for a PAGE it's simply the url of the page (ex: /en/articles/29320-benefits-of-foo), whereas for a FETCH it's a some sort of hash (018e20737d6ed9167c4...).
async get(key) { try { const data = await client.get(KEY_PREFIX + key); const parsedData = JSON.parse(data); return parsedData; } catch (e) { console.error(e); return null; } }
We simply parse the JSON we get back (since we know it's stored as JSON from our earlier set() call) and return it back to Next.js as a plain old JavaScript structure.
Implementing revalidateTag()
As mentioned earlier, having a non-blocking on-demand revalidation solution was the main reason we decided to implement our own caching handler.
We had to read a bit of Next.js source code but we found a hint in one of their comments:
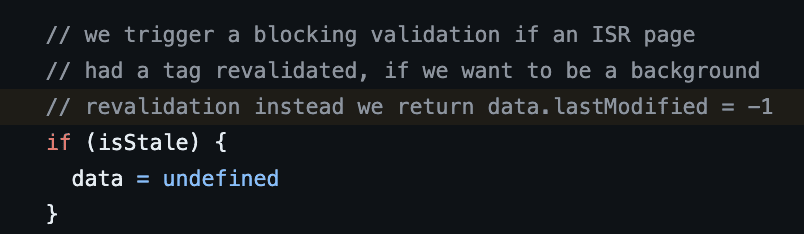
Yes, that's the trick. The default Next.js on-demand implementation purges the cache when revalidateTag() is called. Instead we want to set its lastModified = -1; effectively telling Next the resource is stale and that it should revalidate in the background.
Here's how our implementation looks:
async revalidateTag(tag) { const remoteTags = await client.hGetAll(KEY_PREFIX + SHARED_TAGS_KEY); const tagsMap = new Map(Object.entries(remoteTags)); const keysToMakeStale = []; const tagsToDelete = []; for (const [key, tagsString] of tagsMap) { const tags = JSON.parse(tagsString); if (tags.includes(tag)) { keysToMakeStale.push(KEY_PREFIX + key); tagsToDelete.push(key); } } if (keysToMakeStale.length === 0) { return; } for (const key of keysToMakeStale) { const data = await client.get(key); if (data) { const parsedData = JSON.parse(data); // mark as stale parsedData.lastModified = -1; await client.set(key, JSON.stringify(parsedData)); } } // delete tags await client.hDel(KEY_PREFIX + SHARED_TAGS_KEY, tagsToDelete); }
The magic is simply making sure that we update the resource, instead of removing it.
Final thoughts
This solution is working great for us and is giving us ways to optimize things at scale:
We can scale to multiple Next.js instances, all talking to the same cache!
Users always get cached content even after an on-demand revalidation (which is a novel behavior)
Finer grained control over how things are stored in Redis (for instance PAGEs html/rsc content could be stored directly as strings instead of JSON for further optimizations)
Hope you've enjoyed this small and unique intro to cache handling with Next.js. Ciao & tot ziens!